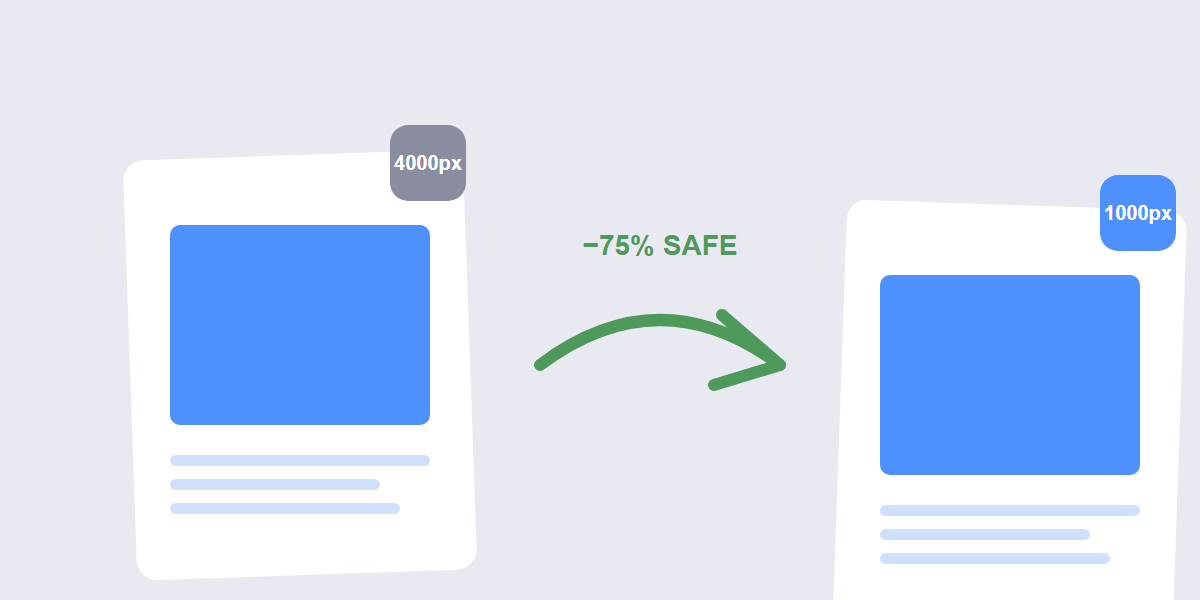
Quick answer: to resize an image without losing quality, always resize downward or keep the size identical â downscaling preserves detail almost perfectly with good resampling. Upscaling is where quality dies, because the tool has to invent pixels that were never captured.
That single rule explains every resize disaster you’ve seen: the blurry screenshot that was stretched to fit a slide, the pixelated logo blown up for a banner. Here’s why quality behaves this way, and the exact workflow for the three most common resize jobs â web, email and print.
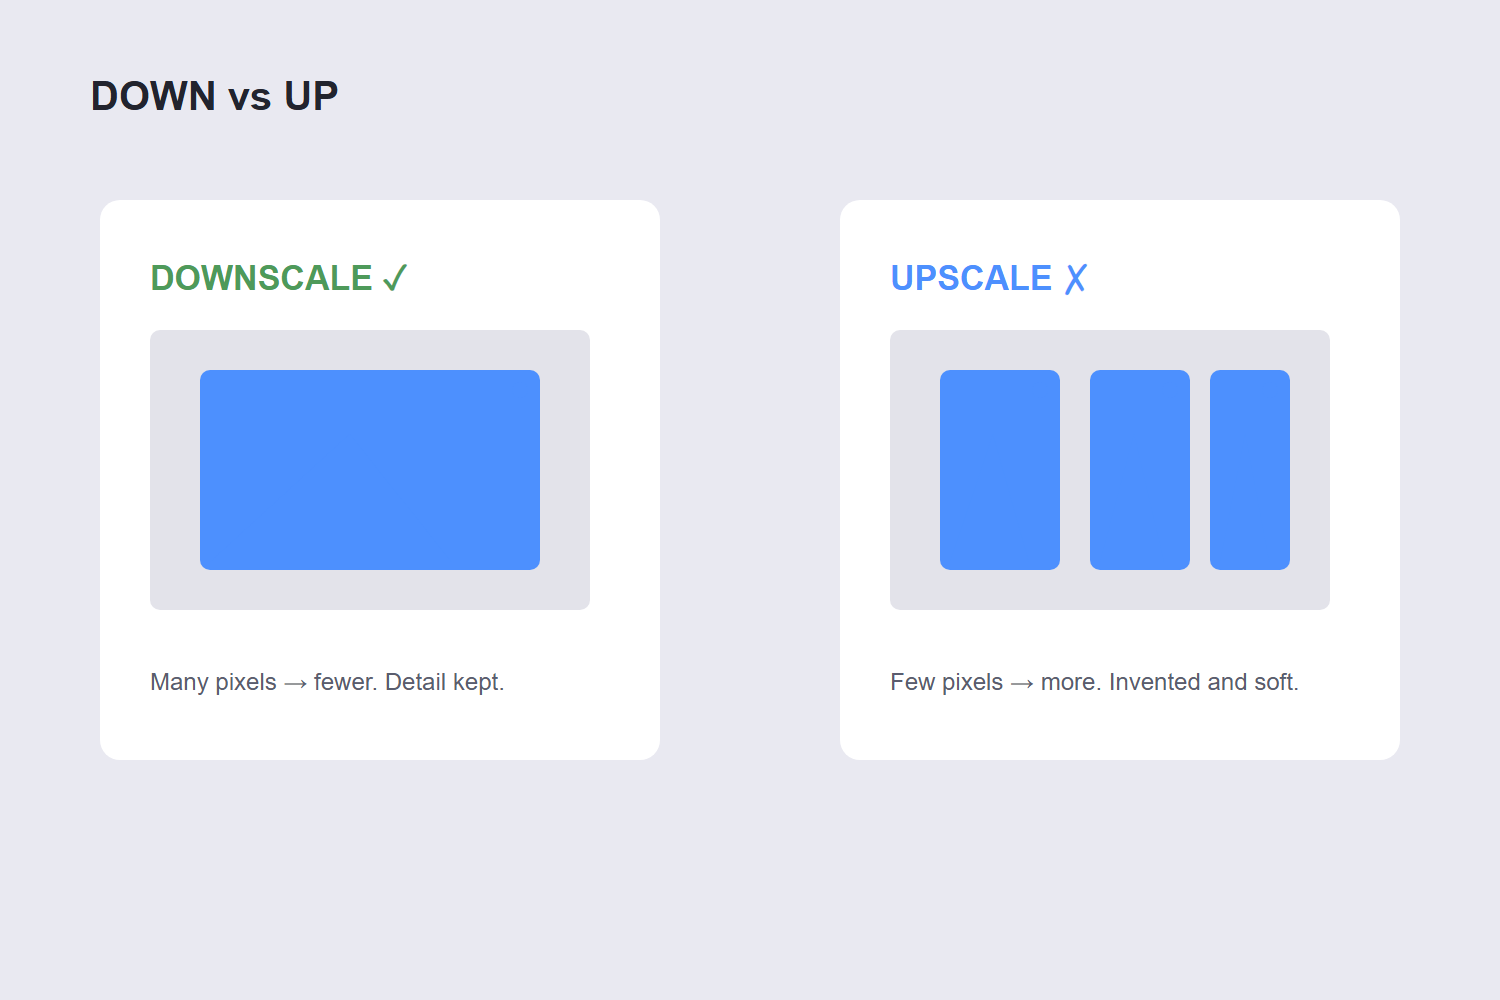
Why downscaling is safe and upscaling isn’t
An image is a grid of pixels. Downscaling from 4000px to 1000px means the tool combines many pixels into one â with a good resampling filter, the result keeps essentially all the visible detail. Upscaling is the reverse: the tool must create pixels between existing ones, and no algorithm knows what was actually there. The edges soften, straight lines wobble, and text turns to mush.
Practical numbers: downscaling to 25â50% of the original is visually lossless for almost any purpose. Upscaling beyond about 115â120% starts showing softness. AI upscalers have improved the game for photos, but they reconstruct detail â great for old family photos, risky for anything with text or logos where invented detail becomes wrong detail.
The resize workflow (free, in-browser)
- Open the tool. Go to the free Resize Image tool and drop your image in â JPG, PNG, WebP and more are supported, batches included.
- Set the exact target dimensions. Type the width or height; the aspect ratio locks automatically so nothing stretches. (Uncheck the lock only if you deliberately want a different shape â that’s cropping territory, and the Crop Image tool is the right tool for that.)
- Choose the output format. Keep the original format for graphics and screenshots; JPG for photos headed to email.
- Resize and download. Runs locally in your browser â no uploads, batch-friendly.
The workflow is identical for one image or fifty; resizing a whole photo set to web dimensions takes about as long as typing the numbers.
Target sizes for web, email and print
Resizing without a target is guessing. These cover most jobs:
| Job | Target size | Why |
|---|---|---|
| Website content image | 1200â1600px wide | Sharp on retina screens, small file after compression |
| Email attachment photo | 1000â1500px wide | Looks full-size on screen; keeps the email light |
| Social feed post | 1080px wide (platform-specific heights) | Matches platform display resolution |
| Print (300 DPI) | inches à 300 | A 4Ã6 inch print needs 1200Ã1800 px minimum |
The print row trips people up most: print needs far more pixels than screens. A photo that looks huge on your monitor (1920px wide) prints sharply at only about 6.4 inches wide. Check the print size before assuming a web image is print-ready.
When you must upscale
Sometimes there’s no bigger original â an old photo, a screenshot someone sent, a logo supplied as a 300px file. Your options, honestly ranked: find the original source first (logos usually exist as vectors somewhere); use it at its native size and design around the limit; or try an AI upscaler for photographic content and accept that text-heavy images will still look wrong.
What not to do: repeatedly re-save the image at increasing sizes. Every save compounds softness, and the file grows without gaining real detail.
FAQ
How do I resize an image without losing quality?
Resize downward using a proper resampling tool like the free Resize Image tool: set exact dimensions, keep the aspect ratio locked, and download. Downscaling preserves detail; avoid upscaling beyond ~120% of the original.
Does resizing an image reduce its quality?
Downscaling keeps quality essentially intact â fewer pixels, same detail per pixel. Upscaling reduces quality because new pixels must be invented. Format also matters: repeatedly re-saving a JPG at any size compounds softness, so resize from the original once.
What size should I resize images to for email?
1000â1500px wide is the sweet spot for email photos â full-screen sharpness at a fraction of the original file size. A resized photo also keeps you far under attachment limits, which is the usual reason for resizing in the first place.
Can I resize an image on my phone?
Yes â browser-based tools like the Resize Image tool work in any mobile browser. Set the dimensions, resize, and save back to your photos. No app needed, and the image never leaves your device.
How do I resize multiple images at once?
Use a tool with batch support: drop the whole set into the Resize Image tool, set one target dimension, and download all of them resized. Every image in the batch gets the same treatment, which also keeps your site or gallery consistent.
Why does my resized image look blurry?
Three usual causes: you upscaled beyond ~120% (invented pixels), you resized an already-small screenshot (nothing to resample), or the file was re-saved as JPG multiple times. Fix: start from the largest original you have and resize down once.
